(Fashion)
Chair Cover Change-Up

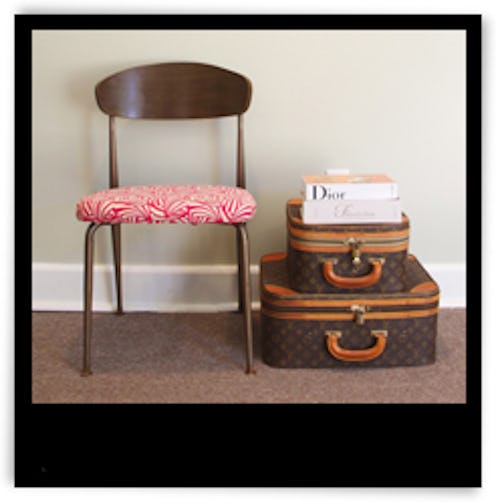
A basic piece of furniture is practical, sure, but exciting? Verdict’s still out. Jacey from Damsel In Dior dug up an old—but still perfectly functional—chair to create a super-simple DIY flipping a long-forgotten seat from drab to fab. Give it a try during your holiday downtime and take pride in your new crafty creation!
Click through to update an old chair with some new flair!
What You’ll Need:
- -Pair of Scissors
- -1 Yard of Fab Fabric
- -Household Staple Gun
- -Screw Driver
Remove the cushion from the chair by unscrewing the cushion from its base. Strip the old cushion of its fabric & be sure to remove as many staples as you can (use your screw driver to help get staples out).
Lay fabric with print facing down and place cushion facing down on top. Trim fabric so that there is enough to fold over the edges (leave about 1.5 inches wiggle room).
If your cushion is rounded, fold a flap of fabric on each edge and staple from the center out. Make sure the fabric is smooth and tight with as least amount of bunches possible.
Continue working the fabric from opposing corners so you get an even pull. Working in an "X" begin stapling one corner, then the opposite and so on. Continue stapling the fabric until you've gone around the entire cushion. If bunching occurs, make sure it is under the seat and not visible from the top. Secure every fold with a staple.
Trim any additional fabric left over as close as you can to staples. If a piece is sticking up that you just can’t trim, staple it down—easy fix!
Return the seat to its chair and screw the base back in. Now you’ve got a new and improved spot to sit—kick back and relax!